How to Sight in a Rifle Scope at 50 Yards
If you are a hunter, it is of the utmost importance that you know how to properly prepare your rifle scope—knowing that your rifle is correctly sighted means that you are able to aim your shots more accurately to get a quick and ethical kill when you take the shot.
This step-by-step guide provides some assistance in regard to how sight in a rifle with a scope at 50 yards. Most hunters make use of telescopic sights, and for the purpose of inclusivity, these are the scopes that we are going to be discussing.
What You Need to Zero Your Scope
Before you continue with this tutorial, it is essential that you know what you need to complete it correctly. Having the following equipment on hand is crucial to zero your scope properly:
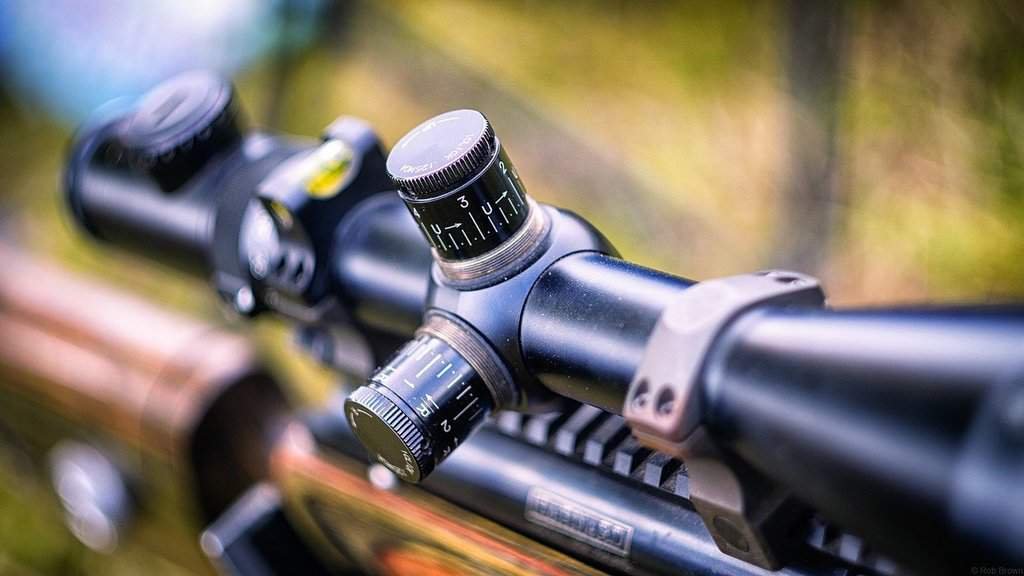
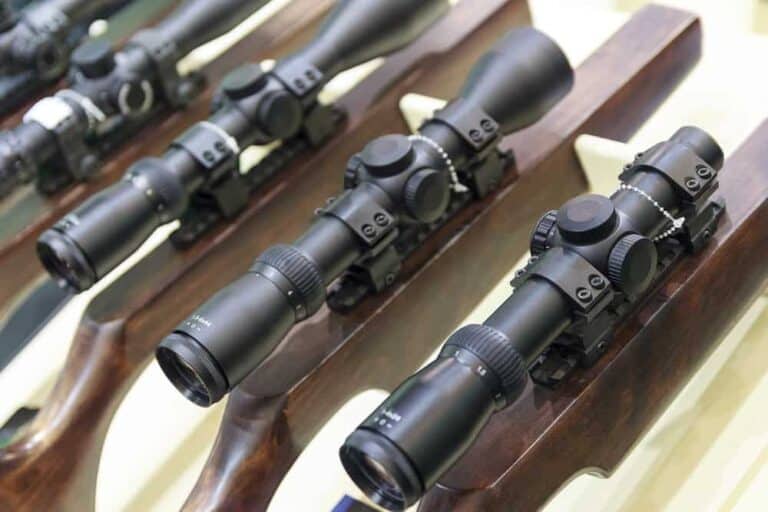
- Your rifle scope. This is the most crucial piece of equipment that you need. The scope should be correctly installed on the firearm, with the rings and bolts securing the mount firmly to the base.
- The bullets. You should note that the ammunition you use can affect your aim when you sight your scope. This is because bullets have differing drop rates that are affected by their properties. These properties include the length, weight, type of projectile, and velocity of the bullet. Sticking to a single kind of ammunition is a recommended way to keep your aim steady over varying distances.
- Bore sights. These are available in two varieties, namely: laser and magnetic bore sights. Bore sights are an extremely effective way of saving you both ammunition and some shoulder wear.
- A rifle rest. This piece of equipment is pretty handy when you sight your rifle as it keeps the gun still while you set up the zero—using this piece of equipment helps eliminate any human error that could occur during the process. For this reason, we highly advise that you consider using one.
- A diary and pen. We know you’re hunting, not going to school. However, these tools are used by many shooters to make some quick calculations while sighting their scopes.
Steps to Follow When Sighting Your Scope
Listed below are some of the steps that you should follow to sight your scope correctly. It is vital that you follow all of these steps to the tee for the best results. After following the steps, your rife should be correctly sighted for 50 yards.
Step One: Set Up the Equipment
This is probably the simplest of all the steps; however, failure to follow this step correctly can cause you a host of problems down the line. It can even result in you having to redo the entire process, which we’re sure you would much rather avoid. So, let’s get into it.
You want to start by setting up the rifle, scope, and target you are going to be using. When completing this process, you should make sure that the gun is securely mounted on the rest to avoid any moving around while you are sighting the scope.
You also want to make sure that the scope is securely mounted, as if it is slightly loose, it can move around a little. Small movements in the scope can make significant differences in your aim, as an offset aim of one degree can make a considerable impact over large distances.
Ensuring that you set the target up at the right distance is also an important step. You can make use of a yardstick to make sure that you have set it up at the right distance. Remember that small differences in the distances and angles can offset all your calculations.
Step Two: Look Down the Scope
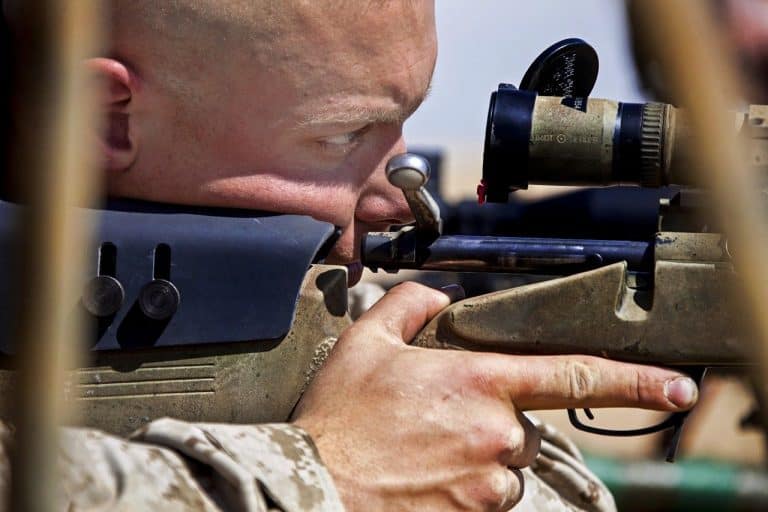
Once you have completed the process of setting up all your equipment, you should look down the sight of the gun. When doing this, you should get a distinct and clear image of the target. If you do not, you may have to adjust the magnification on the scope to the correct range.
Wind and elevation also come into play, so make sure that you fine-tune the direction of the scope to accommodate for these conditions. Failure to do so can result in these factors affecting the trajectory of the bullets and upsetting the whole process.
Once you have made all the necessary adjustments, the reticle of the scope should be aimed at the center of the target. Once this is all completed, you are ready to move onto the next step of the process, where things start to become fun.
Step Three: The First Shot
Finally, you get to pull the trigger and get the first shot off. After following the previous steps and ensuring that the crosshair on the scope is level with the bull’s eye on the target, you should fire one round at it. After firing the round, you should examine where it hit the mark.
The point where the bullet hits the target is the point from which you need to start adjusting your scope. It is improbable that your first shot hits the target’s bull’s eye as there are so many factors in play. Noting where the bullet hits the target allows you to make the necessary adjustments to the scope.
Some shooters like to shoot more than one shot initially. They tend to fire three shots so that they can assess whether or not the shots are concentrated or whether they are all moving around. We prefer this method as it provides more accurate data than just a single shot.
Should all the bullet holes be concentrated in the same area, then you are good to go. If all the shots land in different places, this is a sign of movement. You should assess whether the gun and scope are correctly mounted should you run into this problem.
Step Four: Making Adjustments
This is the step where you take note of where the shot hits the target and make adjustments to your scope. Should your shot miss the mark entirely, you may need to make some more significant adjustments to your scope than you initially thought were necessary.
Should this occur, you may have to unmount the scope and refit it to the gun. When you do this, you must tighten it in the right direction so that you do not miss the target again. The process is extremely precise, so make sure to take extra care while you do so.
If you do manage to hit the target, you should take note of how far away from the bull’s eye the shot made an impact. If the bullet makes an impact with the target and is within one to 10 inches of the center, you can just make some adjustments to the scope.
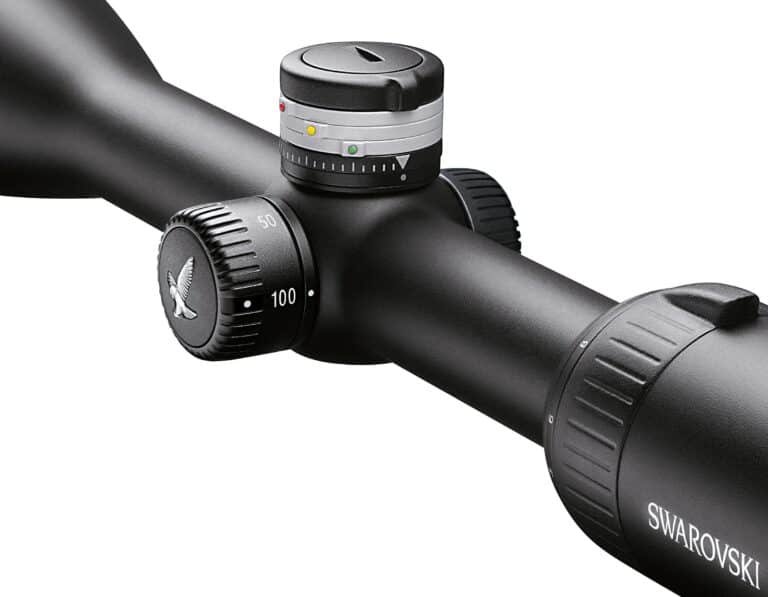
Calculating the level of adjustment that you need is not too difficult. You can do so very accurately by counting the number of clicks required to make adjustments to the scope in each direction.
An example of this is that if your scope makes an adjustment of a half-inch for each click, then if the shot hits two and a half inches below and three inches to the left of your target, then you need to make the adjustments of five MOA upwards and six MOA to the right.
Step Five: Retake the Shot
After making the adjustments to your scope, you should take another shot and see where it makes an impact on the target. If you have made the required adjustments after the first shot, then you should find that the next shot should either be spot on or much closer to the center.
If the next shot is still off the center by a few inches, then you may have to make some finer adjustments. You can continue repeating this process until your shot hits the exact spot you are aiming for. You may have to repeat the process a few times until it is complete.
Once you are satisfied with the area of impact of the shot, you have completed the process of sighting your scope. You are now ready to get shooting without having to worry about missing the shot due to a poorly set scope. The same process can be followed for a variety of ranges as well.
The Bottom Line
We hope that this article has helped you in understanding how to adjust your scope and sight it for a distance of 50 yards. Not knowing how to sight the scope can be frustrating; however, after reading this article, you should be an expert in the subject matter.
The tips and steps provided in this article have helped us to set our rifle scopes much more easily. We are confident that should you follow the steps laid out, you should be easily sighting your scope in no time at all.
So, after reading this article, get your rifle and scope out and get to work. Happy shooting and we hope that you find value in the tips provided here.


