How to Sight in a Rifle Scope Without a Boresighter
On this page, I’m going to teach you how to sight in a rifle scope without a boresighter. It may sound complicated, but once you get all of the following steps checked out, it’s going to become natural to you!
Whether you’re going shooting for the first time or have been doing it for years, sighting in your rifle scope is one of the most important parts of the process.
I’ve been sighting in my rifle scope with and without a boresighter to get used to both methods; that way, I can be prepared for every scenario, and you can be too.
What You’re Going to Need to Follow This Tutorial
Since we don’t have a bore sighter in this scenario, the requirements to sight in your rifle scope aren’t that much. Make sure that you have all of the items specified below before you start following this tutorial.
- Mounting System
- Rifle Scope
- Paper Logbook (Optional)
- Binoculars (Optional)
The paper logbook and the binoculars aren’t necessary to complete this tutorial. However, if you want to be more time-efficient with your set-up, a paper logbook can help you keep track of your adjustments, and the binoculars can help you locate your bullet hits.
If you are still in the market for a rifle scope, see our guides on the best options for under $500 or under $200 if you are on a budget.
Step by Step Instructions
Overall, the process involves making sure that your rifle is unloaded and resting in a sturdy place. You may use a sandbag or a vise to gain much better support of the rifle if you want.
When you’re done placing the rifle in a safe place, it’s time to align the center of the bore. It should always be aligned with the center of your scope. Since we don’t have a bore sighter, you have to do this process by vision.
Here’s the full process for sighting in your rifle without a bore sighter:
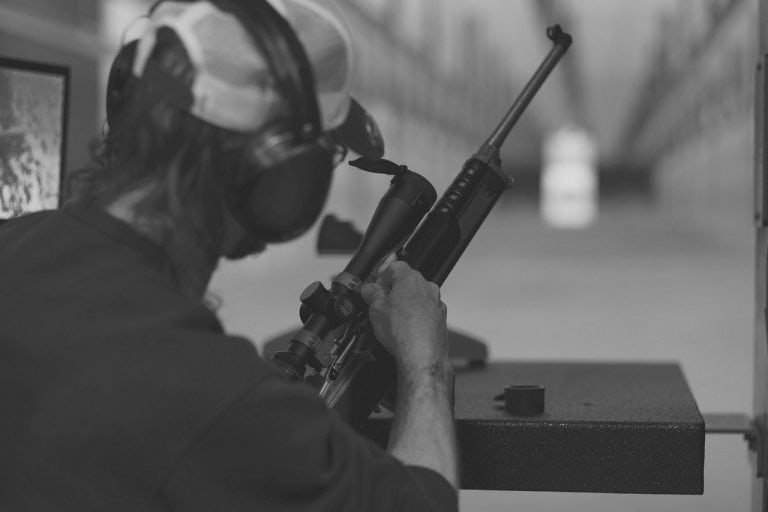
Step One – Set-Up: Ensure that your unloaded rifle is resting on a stable/sturdy platform. Additionally, you should also be in a comfortable position to shoot during the process.
Step Two – Setting Up a Backstop: Set up a safe backstop to catch your rounds after firing them. A backstop’s purpose is to stop each bullet safely and give you a visual reference of where your bullets are hitting.
Step Three – Setting the Target: Determine the range in which you’re going to put your target. Keep in mind that your target is going to be used to align your rifle sight. For this set-up, you may place the mark at any distance you feel comfortable from 25 to 100 yards.
Additionally, keep in mind that if you sight your rifle at 25 yards, your bullets are likely going to reach a distance of 100 yards (depending on the height of your scope and the trajectory of the bullet), so don’t worry about where you place your target for now. The most important thing here is that you’re comfortable in the process.
As you get more comfortable with your target’s distance, you may try and set your target at much longer distances the next time you need to sight in your rifle scope. Whether you are hunting deer or varmint, if you’re planning on eventually shooting at long ranges, it may be a great idea to expand your target distance over time.
Step Four – Removing the Rifle Bolt: If you’re using a bolt-action rifle, consider removing the bolt. In this process, you need to be able to see the rifle barrel from the back. In semi-auto or pump rifles, this is likely not needed.
Step Five – Calibrating the Rifle: Calibrate the rifle by looking at its bore and lining it up with the target you’ve placed before. In essence, your target should be facing the center of the bore.
After you’re finished with this step, ensure that your rifle is secure so that it doesn’t move until needed.
Step Six – Locating the Target: Once you make sure that the target is appropriately centered on the rifle’s bore, slightly move your head up to look through your rifle scope to locate the target you placed.
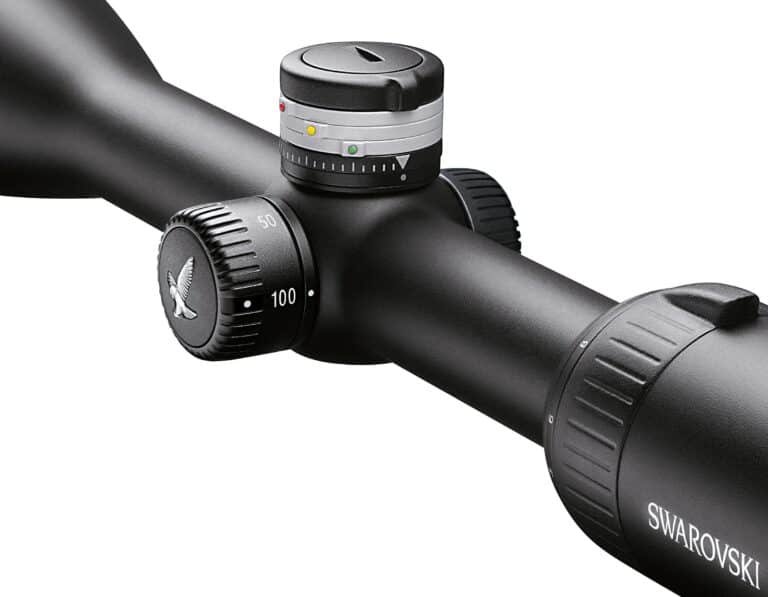
Step Six – Adjust the Scope’s Windage and Elevation: Use the scope’s knobs (Left-Right for the windage and Up-Down for the elevation) to center the target under the scope’s reticle. As a rule of thumb, your scope’s crosshairs should zero in on the target’s center.
Step Seven – Aim and Take the First Shots: Once you’ve found the adjustments you feel most comfortable with, put the bolt back into the rifle, and fire a shot to where you placed your aim (usually the smallest part of the target).
If you have binoculars with you, you may fire a single shot and use the binoculars to locate the place where your bullet hit. However, if you don’t, I suggest that you fire two more shots to have a three-round group, which is easier to locate.
Step Eight – Take Notes and Make Secondary Adjustments: Once you located where your shots landed, take notes and make adjustments to compensate for the distance between your reticle’s view and where the bullet landed.
In other words, you’re going to adjust the scope’s windage and elevation once again to get a more accurate sight. You may do this process in one of two ways, which I’m going to explain below:
- Walk up to the target and measure the distance between the bullet and your scope’s reticle.
- Adjust your scope directly by dialing your elevation and windage knobs until the reticle centers on the point where your bullet landed.
Step Nine – Test Your New Adjustments: When you believe you’ve made the right adjustments, move back to your starting position (If you went close to the target to take measurements) and fire again.
If you’re planning on saving ammunition, you could shoot three-shot or five-shot rounds to the target. On the other hand, if you want to be as accurate as possible, I recommend that you shoot a 10-shot round on the target.
By doing this, you can make a much more accurate final adjustment if it’s needed. In most cases, your scope is going to be fully centered on the target or very close. After you finish this process, you may make adjustments for other distances or move on with your shooting if you want.
Step 10 – Clean Your Rifle Barrel: Each rifle may be different from one another, but if you want to achieve the highest level of accuracy possible, consider cleaning the barrel after you’ve shot a particular number of bullets.
You may determine the best time to let your rifle barrel cool off to clean it yourself. I usually clean mine after 15 to 20 shots. Keep in mind that a rifle barrel can reach a different point of impact after you’ve shot a particular number of bullets.
Regardless of the case, it’s best that you check your barrel after a particular number of shots to ensure that it’s still ready to go; if it isn’t, take a few minutes to clean it and make your adjustments again.
If you want a visual representation of how you can sight in your rifle scope without a bore sighter, make sure to check this YouTube video from Outdoor Life. In this video, the creator uses different target distances to set up his rifle.
Why Are Mounting Systems Important?
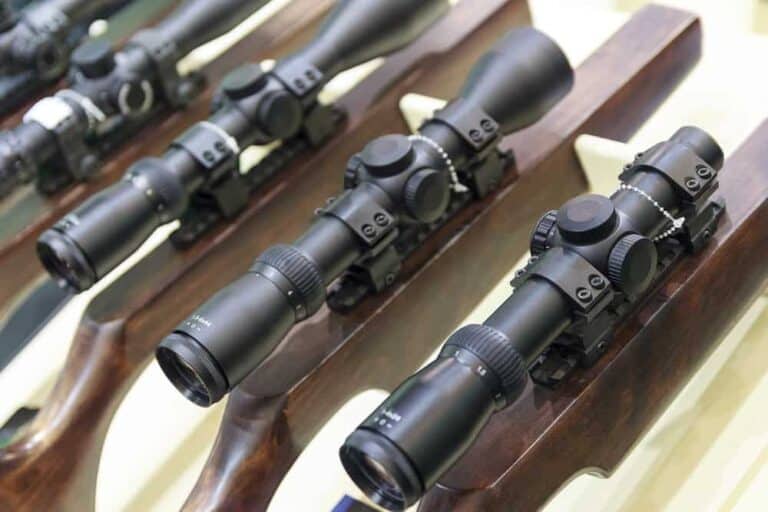
If you’ve been getting frustrated due to a consistent inaccurate aim and unreliable zeroes, you may need to consider getting a mounting system. A mounting system (Or scope mount) is a small tool that you can use to achieve a much secure mark when setting up everything.
A mounting system can be considered an unnecessary investment for some, but it can save you from wasting several bullets. The most commonly used type of mounting system is the weaver mount, which uses crosswise recoil slots inside a broad, flat base.
The second most used mounting system is the Picatinny mount. Both models are fairly similar, and they differ mostly in their design, placement, and recoil groove width. You may evaluate both models and choose the one that best fits your needs.
Overall, a mounting system is highly recommended if you want to save time and bullets on your set-up process.
Should You Consider Buying a Bore Sighter?
Some people don’t have a bore sighter ready to go at all times, and others simply don’t have the budget to afford one. Regardless of the case, a bore sighter has proven to be a reliable tool to speed up the sight-in process.
There are two types of bore sighters: Laser and magnetic. While both of them offer slightly different features, they work for the same purpose. If you want to adjust your rifle’s scope as quickly as possible, this may be a faster option.
However, bore sighters are not entirely necessary, and you may do the process yourself by following the steps I mentioned above.
Conclusion
Regardless if you have a bore sighter or not, it’s vital that you know how to sight in your rifle’s scope in cases where you don’t have access to a bore sighter. I’ve found myself in situations where I have to manually boresight my rifle, and this tutorial has come significantly in handy.
If you’re constantly going out hunting or to a shooting range, having this knowledge can save you from some frustration on the set-up process.
Did you enjoy the tutorial? Have you tried sighting in your rifle scope without a bore sighter before? Let us know!


HOW DO I CONTACT YOU ABOUT PURCHASING PARTS
Hello,
Are you still doing Bren gun rebuild and semi auto conversions? I’ve just bought a cut up parts kit I would like to get built.
Thank you.
Bryce Smith